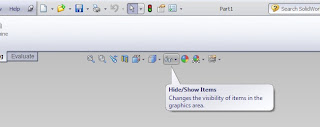
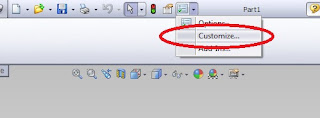
 SolidWorks allows for a lot of user customization of which we have explained how to do a lot of this in previous posts. What I would like to show you now is how you can add toolbars to the heads up toolbar that sits at the top of your modeling window. I personally use the "S" a lot which allows me to access a flyout toolbar that contains the most common toolbars of which I can also customize what is available on this menu as well, but in this post I am going to show you the heads up toolbar. Out of the box this toolbar allows you to access differant view points, display styles, appearances, scenes, view options and graphic options. A feature I use a lot is the plane command which is located under reference geometry on the features toolbar and I am going to show you now how you can add this to the Heads Up Toolbar so it is easily available.
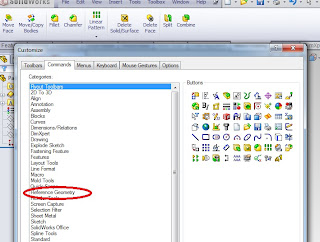
  The 2nd step is to select the Commands tab on the Customize menu and in my case I select the Reference Geometry which will then bring up the toolbars under this menu drop down.
 The 3rd step is now to drag the icon from the customize menu by keeping the left mouse button down and dragging it over the Heads Up Toolbar. Once over you will see a green tick and the Icon trying to squeeze between other icons and that is when you let go of the mouse button.


